EASY One-Click Shopify Ads Setup With Ad360
Related reading : Shopify With Facebook | Shopify And Facebook Ads
Shopify 60 day trial
Us
Related reading : How To Use Google Shopping Ads With A Shopify Store In 2022
IMPORTANT: If you get an error message when you try to complete the signup, please reach out to support@ad360.us
Sign In Here or click here to create a new account
Once You have logged in click on ECOMMERCE
Enter your store address and click EDIT
Click in the type of advertising you are looking to get setup on. The most common being Google Ads.
Enter your store settings and click on POWER EDITS Next to each option you can checkmark to opt IN or opt out
Check OPT IN to all the optionsMost eCommerce owners are looking to advertise on Google Shopping (Mall)
Check Optical to See what your Google Shopping page will look like before you turn it on.
On the top right corner click on REQUEST ACCOUNT ACTIVATION
select the Facebook advertising if you would like to setup ads on facebook and Instagram at the same time
On the top right corner click on REQUEST ACCOUNT ACTIVATION
Enter your information from the ads manager and Click Connect to Ad account button
Select your advertising objective. If you want to setup Facebook Dynamic product ads, you will want to select TRAFFIC
Select any ad creation option that you may want in the future.
Click on the DPA Product Catalog to connect the DPA product ads to your ecommerce store.
Click on the
[Ad360.us] Create A Facebook Catalog
Next you click on the
The 6 steps above create a product catalog. This structure will be used to create Facebook product dynamic ads.
Now you need to fill that catalog.
Click on the eCommerce icon and enter your store URL.
Click on AUTO-FETCH. There may be some products that don’t have proper product photos, this happens but it will fix itself in time.
Click on NEXT.
Click on the LETS DO IT button
Click on NeW CATALOG
Select type of feed.
Select your store from the drop-down
Click on the
Confirm with
Click on the Publish for public button.
Click on NEXT once it’s done
Click on NEXT once it’s done
Click on the
On this next page the goal is to create a venue that connects to your Facebook Page and Instagram account.
Here is how to do it!
Click on the CREATE OBJECTIVE
Click on the GET STARTED button
Enter your store name, URL and category
Click on NEXT
You will have to create a venue here as a placeholder.
PRODUCT CATALOG
Create Venue or click on,CLICK HERE TO CREATE NOW
Enter your business information
If you go here, you need to click on theDone with this Step button
Click on the TURN ON VIDEO button if you are going to advertise on Instagram.
Click on the SAVE button
Click on the NEXT button
Click on the CREATE CAMPAIGN button
Enter Campaign plannings 1st section
If you don’t have the product catalog option, then select related products at the bottom of the product catalog.
Click on Price
Click on NEXT
Keep it at 10-15%
Click on Maximize social reach
Click on NEXT
Click on NEXT
Click on CLOSE BUILDER on the bottom right and click on CLOSE button
Click on SEE LIVE ADS on the top right and enter your email.
Check your email, you should have received the link in your email
Click on the link in your email
Click on the Next button
Click on the
Click on the
Click on the
Click on the CREATE NEW PAGE and enter your store information. This will create a new Facebook page and Instagram account for you.
Click on PROVIDE NOW and enter your personal info.
Click on the DONE button
Click on the CREATE PAGE button
All done! FB + IG Pages Are Created.
Click on the NEXT button
Choose the campaign objective
Check the4 options and
Click on the Next button
Enter Your Budget and Bid
Click on the Next button
Select your prices
Click on the Next button
Check all options
Click on the Next button
Uncheck all options
Click on Next button
Check the top 10 recommendations
Click next
On this page you should see your Facebook advertising account and the Instagram business profile you have just created. Once you confirm your items, click on the SAVE CHANGES button
Click on the CREATE AD SET button
Choose your Run time. If you are getting sales, we recommend running a lifetime campaign! If you aren’t, then at least a 30 day campaign. You can also run A/B split testing with a 14 day campaign for one of your ad sets.
Choose your Daily Budget. If you want to alter between – (depending on Daily sales from the last 90 days)
Choose your target climates and regions
Choose your Carrier.
Go back to your store, when you are in the check out page you need to look in the URL of the page.
Where ever you see
enter it in this page. If you see multiple sales right after one another with the same key tag then enter
Select your Frequency Cap.
Usually
Click on the Next button
YOU MAY NOT SEE OTHER TAB, PLEASE CLICK ON THE FAVOURITES TAB
will work for almost all ecommerce businesses.
Choose your sales prices
Choose your cost per click
Choose your sales
Choose your rating
back to the top
If you want to only advertise on Facebook, you will follow the same process from above but skip the IG account & IG ads setup.
If you need any assistance, please reach out to support@ad360.us
Please select the store you want to connect to Facebook Ads.
You will have the option to connect to multiple ecommerce stores to create Facebook dynamic ads.
To do that click on the
If you have the proper access to your ecommerce store, CLICK
If you are the store owner and have access to the admin section of your ecommerce store, CLICK ON
If you don’t have access to the admin panel of your ecommerce site, please send or forward the admin login information to support@ad360.us
Read next
 Shopify
How to Setup TikTok Ads | 100k /Month Ad Strategy (Shopify Dropshipping) | Step-by-Step Guide
Shopify 60 day trial 1. Create an Ads Account: Start by creating a TikTok Ads account. To do this, you will have to have
![[EASY] My $0-$440k in 30 days TikTok Ads Strategy (Shopify Dropshipping)](/images/2023/02/EASY-My-0-440k-in-30-days-TikTok-Ads-Strategy-Shopify.webp) Shopify
Shopify[EASY] My $0-$440k in 30 days TikTok Ads Strategy (Shopify Dropshipping)
Shopify 30 days trial My $0-$440k in 30 days TikTok Ads Strategy (Shopify Dropshipping)’ temperature=’1′ top_p=’1′ model
 Shopify
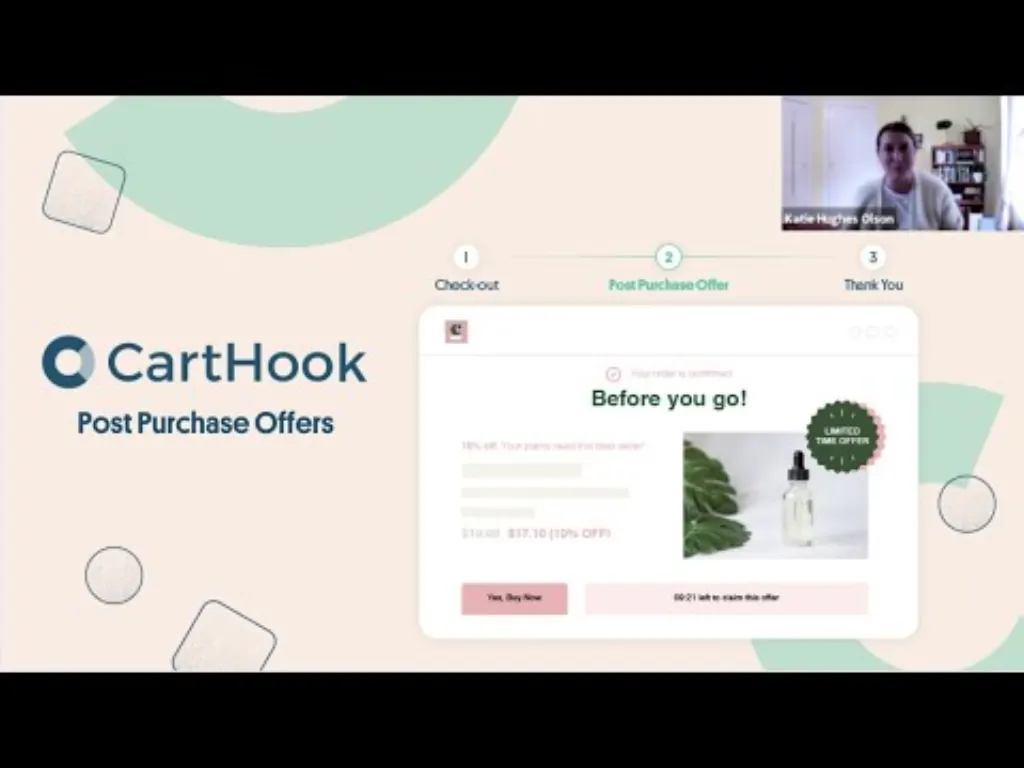
Deliver one-click upsells between the Shopify checkout & thank you page with CartHook
Shopify 60 day trial CartHook enables merchants to create powerful one-click upsells between the Shopify checkout page a
 Shopify
Shopify Tutorial for Beginners | Shopify Store Setup | Training 3
Shopify 21 day free trial 3 In this Shopify tutorial for beginners, we’ll take a look at setting up your Shopify store.